Taking screenshots on a Chromebook is an essential skill, whether you need to capture an entire webpage, a specific part of your screen, or even a specific window – Screenshot On Chromebook.
Chromebooks offer multiple options to make this task quick and easy. Here’s a comprehensive guide to help you understand how to screenshot on a Chromebook.
1. Taking a Screenshot of the Entire Screen
If you want to capture everything visible on your screen, the process is straightforward:
- Keyboard Shortcut: Press
Ctrl+Show Windowskey (F5on most keyboards).
The “Show Windows” key is typically located in the top row of the keyboard, where you would normally find the F5 key on a traditional keyboard. It looks like a rectangle with two lines on the right side, representing a window. Once you press this combination, a screenshot of the entire screen will be taken and saved to your Downloads folder.
2. Capturing a Partial Screenshot
Sometimes, you only need to capture a portion of your screen. Chromebooks allow you to select and capture a specific area:
- Keyboard Shortcut: Press
Ctrl+Shift+Show Windows.
Your cursor will turn into a crosshair, allowing you to click and drag to select the area you want to capture. Once you release the mouse button, the screenshot will be saved automatically.
Also read:
1. 10 Effective Ways to Block ads on Iphone or Ipad | DecorTech
2. How To Connect Xbox 360 Controller To PC – Decor1001Tech
3. 7 Best Comfortable & Ergonomic Laptop Stand For Daily Use
3. Screenshotting a Specific Window
If you only want to capture a specific window or app, Chromebooks have an option for that as well:
- Keyboard Shortcut: Press
Ctrl+Alt+Show Windows.
After pressing this combination, your cursor will change to a camera icon, allowing you to click on the window you wish to capture. The screenshot will be saved to your Downloads folder.
4. Where to Find Your Screenshots
By default, all screenshots are saved to the Downloads folder. To access them:
- Open the Files app on your Chromebook.
- Navigate to the Downloads folder.
From there, you can view, edit, or share your screenshots.
5. Editing Screenshots
Chromebooks offer basic editing tools within the built-in image editor:
- Open the screenshot from the Downloads folder.
- Click the Edit option at the top of the screen to crop, rotate, or add annotations to your screenshot.
For more advanced editing, you can use third-party apps available in the Chrome Web Store, such as Pixlr, or online tools like Google Photos.
6. Using Chrome Extensions for Screenshots
While the built-in screenshot tool is powerful, there are Chrome extensions that can provide additional features, such as scrolling screenshots or enhanced editing capabilities.
Some popular screenshot extensions include Screenshot On Chromebook:
a. Awesome Screenshot: Allows for full-page screenshots, annotations, and sharing options.
b. Nimbus Screenshot: Offers similar features with options to record videos of your screen.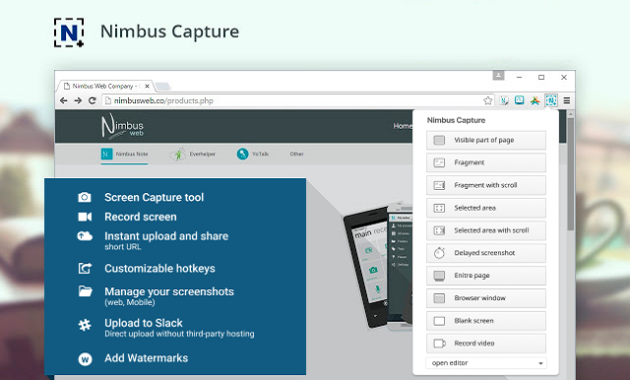
You can install these extensions from the Chrome Web Store and access them via the extension icon next to the address bar.
7. Tips for Taking Better Screenshots
- Clear Your Screen: Before taking a screenshot, make sure to close unnecessary tabs and apps to avoid clutter.
- Use Full-Screen Mode: Press
F4or theFull-Screenkey (also in the top row) to hide the taskbar and focus on the content you’re capturing. - Organize Your Downloads: Regularly move your screenshots from the Downloads folder to another location to keep your workspace organized.
Conclusion
Taking screenshots on a Chromebook is a simple process that can be done using just a few keyboard shortcuts.
Whether you’re capturing your entire screen, a specific area, or a particular window, these tools make it easy to share or save important information.
For those who need more functionality, extensions and online tools provide added versatility. With this guide, you should be well-equipped to take and manage screenshots on your Chromebook effectively.
FAQ (Frequently Asked Questions (FAQs)
Press Ctrl + Show Windows (the Show Windows key is typically found in the top row and looks like a rectangle with two lines to the right). This will capture the entire screen.
Press Ctrl + Shift + Show Windows. The cursor will change to a crosshair, allowing you to click and drag to select the area you want to capture.
Screenshots are automatically saved to the “Downloads” folder. You can access them via the Files app.
Yes, you can press Ctrl + Alt + Show Windows, then click on the window you want to capture. This will capture only the selected window.
Press the Power button + Volume down button simultaneously. This will capture the entire screen.
Yes, after taking a screenshot, you can use the built-in image editor in the Files app or third-party apps like Google Keep, Canvas, or other photo editing tools available on the Chrome Web Store.
You can share your screenshot directly from the Files app by selecting the file and clicking the “Share” option. You can also drag and drop it into an email, chat, or any other platform that supports image sharing.


